Caring For Peace Lilies
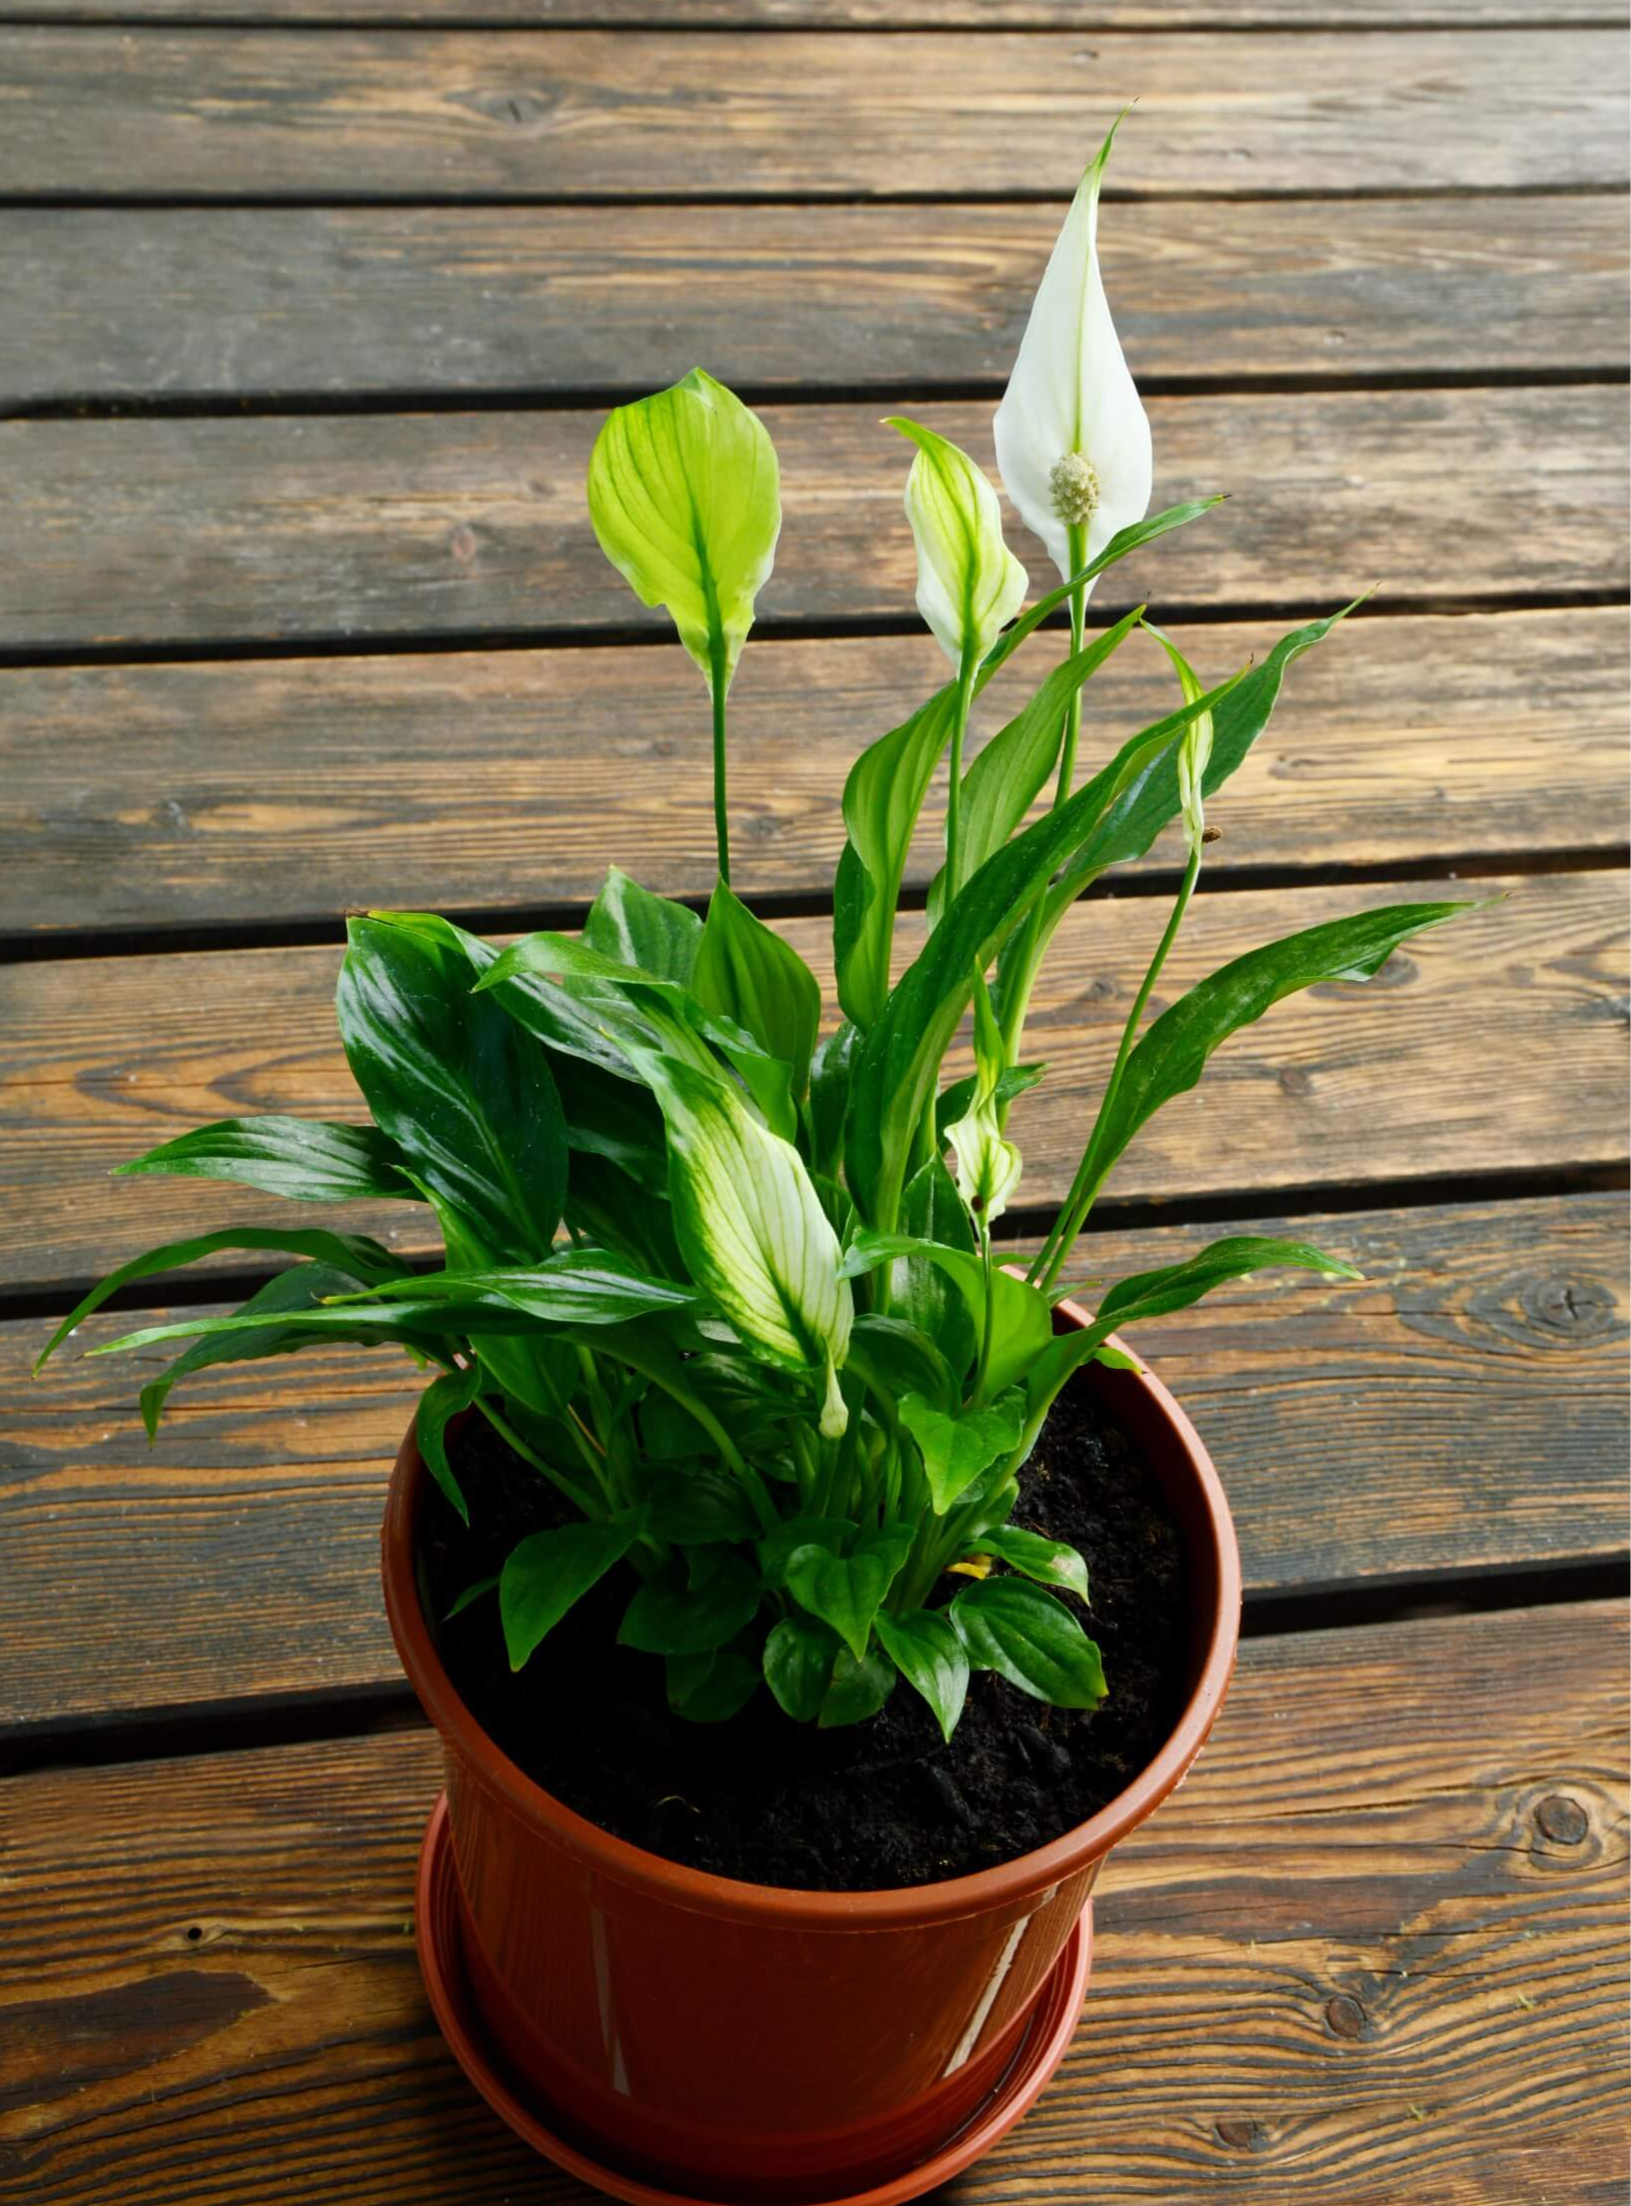
The Peace Lily, also known as the spathiphyllum in scientific terms, is a tropical flower native to Southern Mexico. It has beautiful white, oval flowers with deep green leaves that resemble the flower. There are many different ways of caring for peace lilies and it can be quite flexible. Whether it’s indoors or outdoors, that’s up to you!

The peace lily is named for its beautiful, peaceful atmosphere. It symbolizes the hope and innocence of life with its calm white flower and deep green leaves. It's no wonder why the peace lily is a favourite.
Caring For Peace Lilies Outdoors
The peace lily can absolutely be planted outside but may be a bit of a challenge in colder or dry climates since it is a tropical flower. It will require a lot more care and attention if you want to see this beautiful plant grow to its fullest and brightest. Keeping it in an environment of 16ºC(~60ºF) and above would be the ideal for the peace lily. Anything colder could kill it.
Caring For Peace Lilies Indoors
For indoor peace lily planting, the same temperature as well as moisture applies. It is easier to take care of this wonderful flower in a controlled environment.
The Best Season To Plant Peace Lilies
If you are thinking of planting from a seed or simply transplanting the flower, it’s recommended to pick the best season to give your plants the greatest chance to thrive. For the peace lily, spring is the best choice for outside gardening. This season has the perfect moisture, everything is melting and warming up. It’s not freezing cold like winter nor blazing hot like summer. Spring is perfect to start your peace lily on its way to flower! Again, this flower is a tropical plant and simulating its natural climate is always going to be your best bet.
Containing That Peace Lily
You can use any container meant for the outside as long as it’s big enough to hold the roots for the peace lily. Now, to start, you’ll want a smaller pot when starting from a seed, something around the size of a small cup. You can use Styrofoam, clay, cardboard even. Anything that can hold soil really. You can also use the Kratky method. If you want something more subtle for your front garden, you can simply make a wooden box of sorts. I recommend putting newspaper or cardboard in the bottom to stop weeds hidden underneath to sprout out and to keep the roots in. Also, make sure that your peace lilies are always in shade as direct sunlight could burn them and kill your flowers.
After all the soil has been put in whatever container you’ve chosen and the seeds, or transplanting is all done, I suggest putting some hay or pine mulch on top. This is to keep the birds from potentially eating seeds or weeds from getting in. Proceeding that, give it a good watering as well to make sure it stays watered and moist during hot days. Just check the weather to water appropriately.
As the lily grows, make sure the plant sits comfortably in the pot. What I mean by that is if the pot is too big for its roots, the plant won’t be able to get the water and nutrients it needs. It will spend too much of its resources and energy on expanding and filling the container with their roots. This is why you should not be afraid to get a smaller pot. Don’t plant it in a too small pot however, because the peace lily’s roots could suffocate the flower. Two inches between the roots and the pot is usually sufficient enough for any plant resting in a container.
Best Soil To Use For Peace Lilies
The best soil, in theory, would be a good mix that keeps in moisture and good nutrients. Now, you can make your own soil mix or find some at your nearest gardening store. However, picking one up doesn’t mean anything will do. Different soil for different plants. What you want is soil high in nitrogen, potassium, and phosphorus. You’ll also want good drainage to prevent root rot as well as just a bit of a fertilizer of your choice.
Watering Your Peace Lily
Peace lilies do not require that much watering but just enough to keep the soil moist and watering it once a week should be enough to keep it watered. In spite of that fact, you can simply take a small, wooden stick and push it into the soil. If it comes out dry, then watering is needed, but if it comes out wet, you can just leave it as is. The temperature will affect the soil as well, so make sure to keep an eye out for that, as I’ve mentioned before.
The plant will also tell you when it is in need of water. The leaves will droop down and the leaves will start to curl inwards, meaning the lily is drying out. All you have to do to remedy this is just give it a good watering and, after a couple of hours, the peace lily will be good as new, standing just as tall.
Ideal Light For Your Peace Lily
Peace Lilies are quite picky when it comes to light. They are kind of like vampires; direct light will sunburn and kill them, but they still long for the light the sun gives so they lurk in the shadows. Now for what direct and low light mean, it’s pretty simple. Direct light means it’s, well, directly under the sun. Low light means the light is there but the sun is not directly touching the plant. Low light is exactly what the Peace lily and other tropical plants need in terms of light nourishment, as I’ve mentioned before.
The way you can tell if your peace lily is burning is well, the leaves will burn, turning a crispy brown and then a burnt black. Pretty self explanatory that one. For where to place the flower in the first place, you just have to make sure the area is always going to be in shade. Keep those vampires safe. Still, this beautiful flower cannot endure too much shadow since it is still a plant. If the leaves are thinning out or the leaves are turning pale, moving it closer to a natural light source is what it needs.
The Growth Of A Peace Lily
The peace lily will take approximately one year to fully grow. Flowering, however, is another matter and may take three or more years. Beauty takes time after all! Although, peace lilies usually do not live past the 5 year mark.
The growing phases of the peace lily is fascinating to watch in real time. It will start out as a seed and take around a week or so to sprout. From there, it is just a matter of giving what it needs to grow healthy and patience. There is just such a feeling of accomplishment at watching and caring for a peace lily.
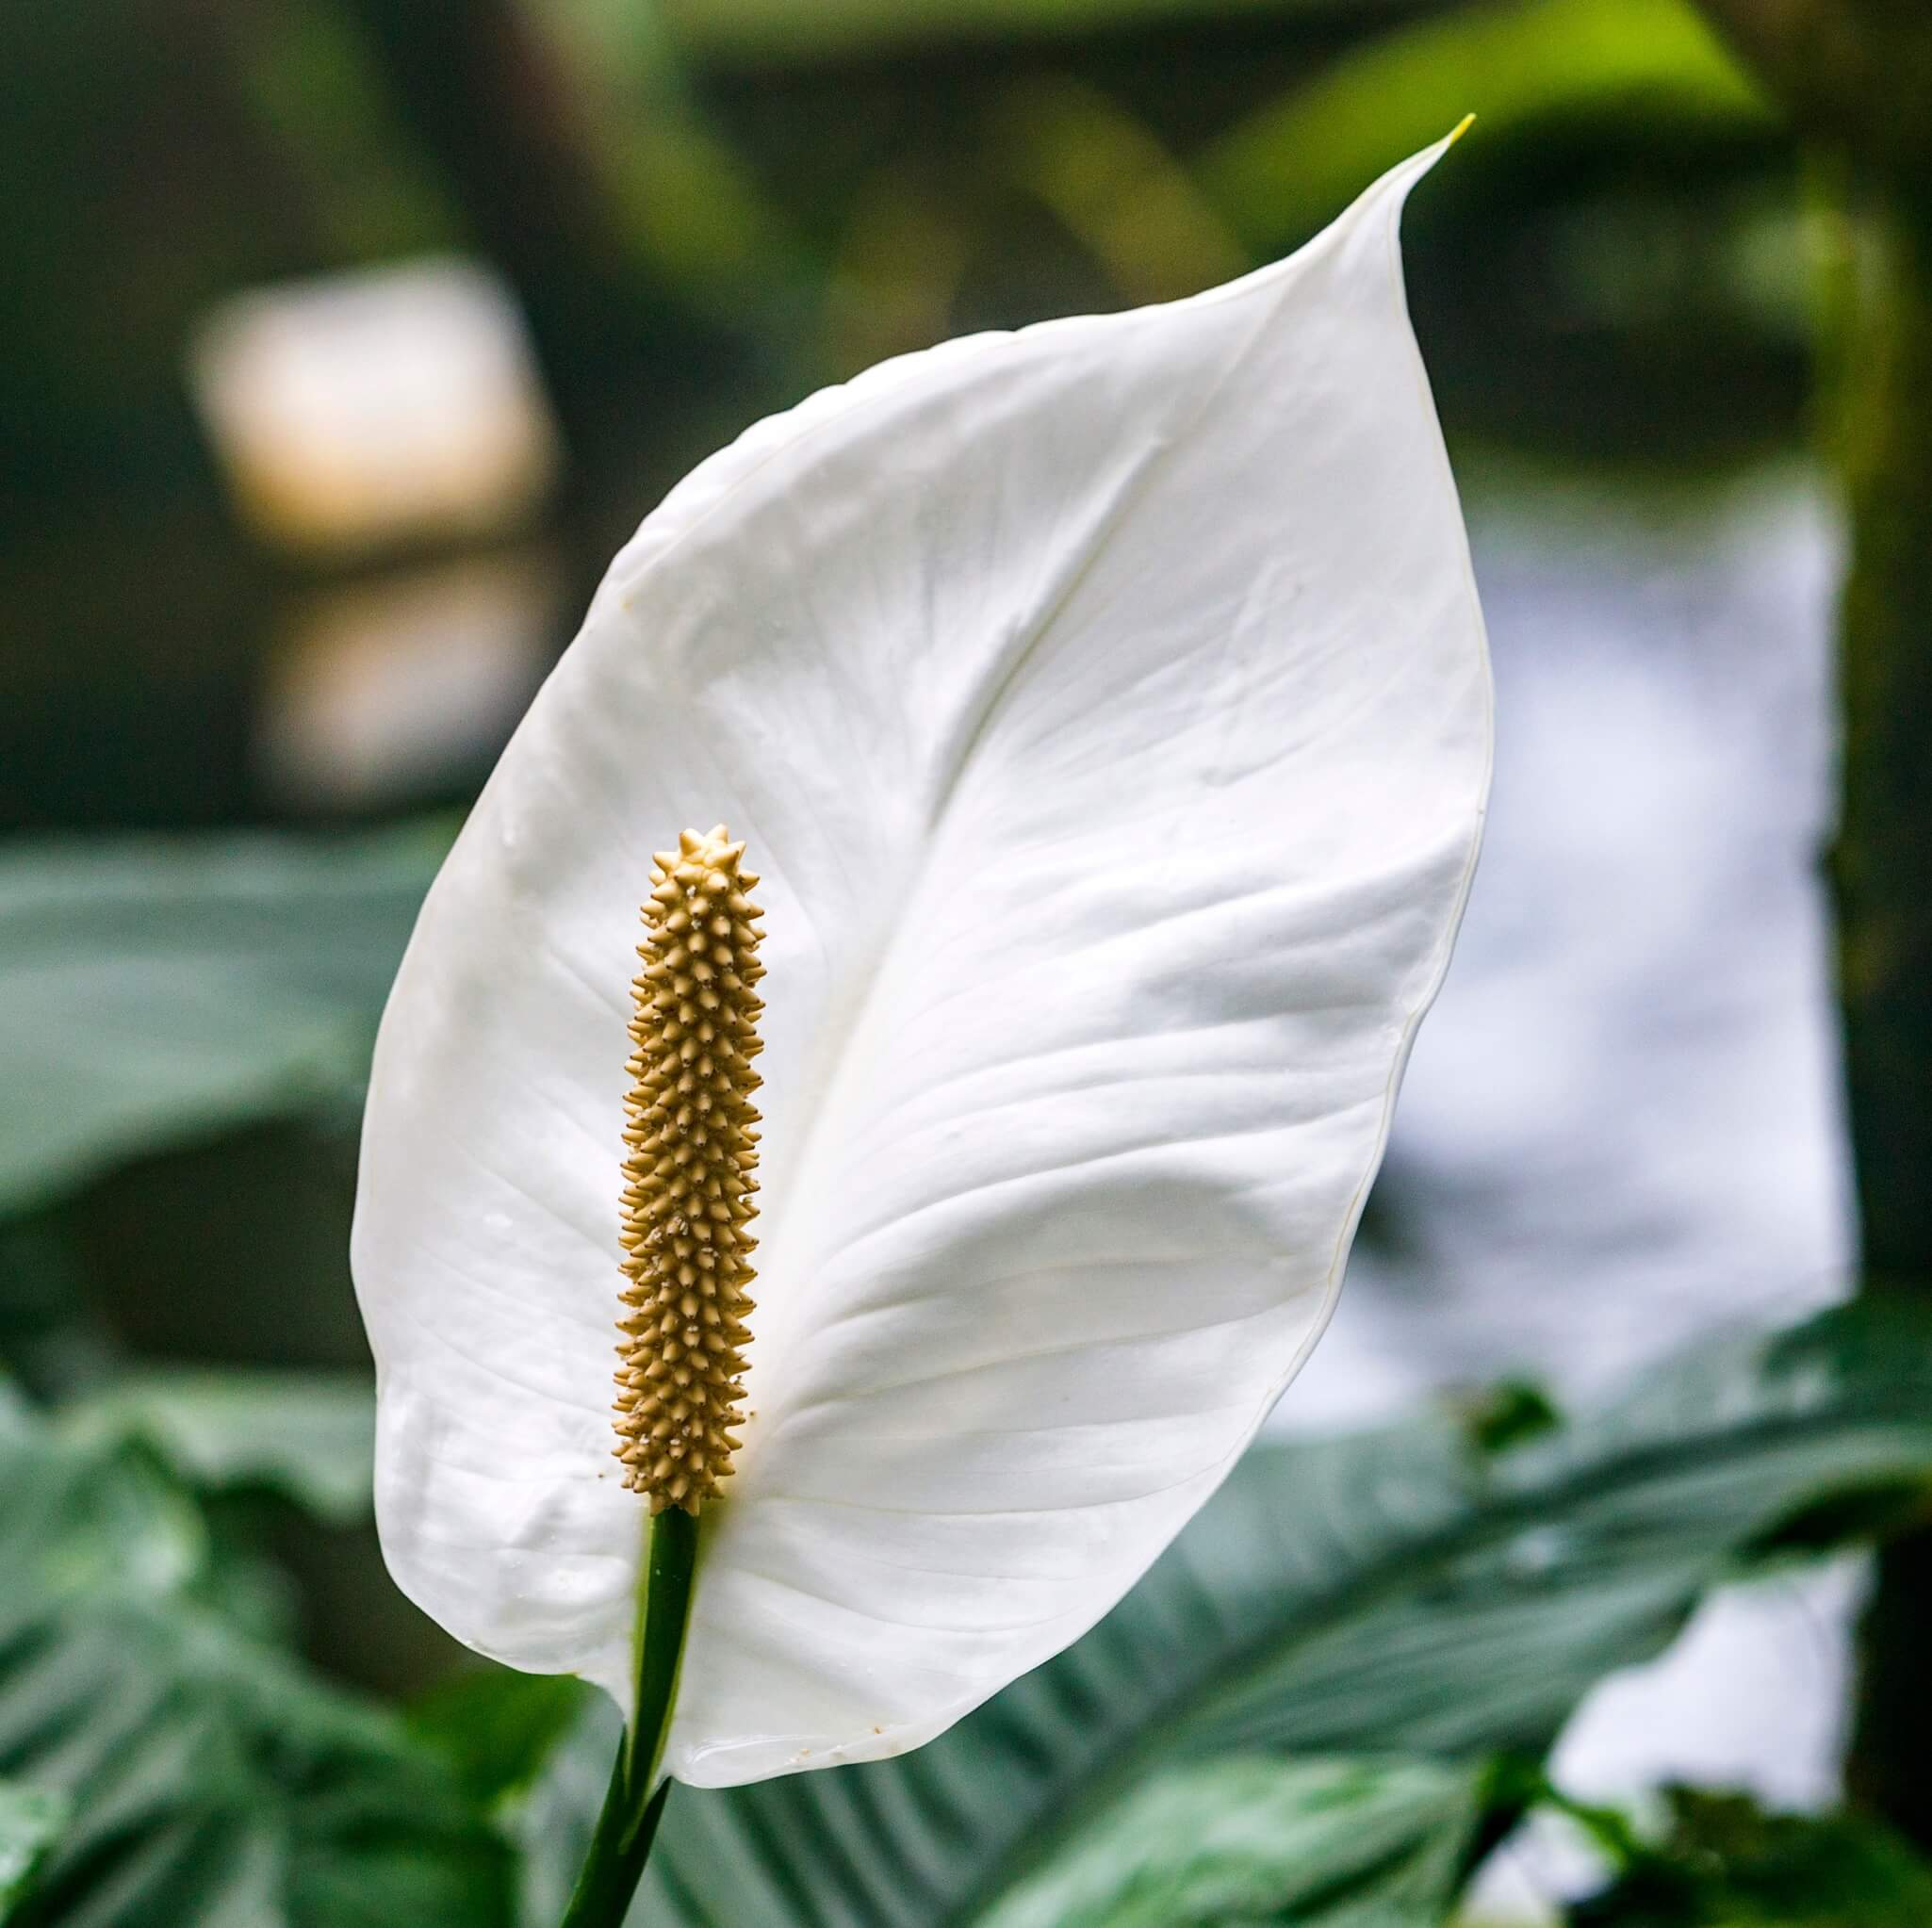
After around the three year mark, granted if it has been well cared for, those iconic white flowers will start to sprout. The flower itself will, at first, just look like a regular new baby leaf, but will then turn white as it unfurls itself from the stem.

Did you know that the white part of the peace lily is not actually the "flower" but is called the spathe. The real flower is the spadix, the yellow corn-looking part.
From there, the flower may bloom for up to one to two months. You may notice the flowers beginning to wilt after, but don’t worry, the rest of the plant will be just fine. Although, to keep your peace lily healthy, you may want to cut the flowers off with a diagonal cut with a clean pair of scissors. That also goes for any leaf that turns brown. I know, I know, cutting off those beautiful blooms may be heartbreaking, but this is to help your plant save its energy and make some even brighter blooms in the future!
Pests You Might Encounter
They are kind of like lice, but for plants and that is fun for absolutely nobody. So, just like you, washing is needed for those flowers. Soap is a good way to remove them. There are around four types of bugs usually found on plants, but these dangers are mostly reserved for indoors;
- Aphids
- Mealy Bugs
- White Flies
- Thrips
Propagating A Peace Lily
There is a way of “multiplying” the peace lily without having the need to plant an entirely new flower and it is super easy. All you have to do is unpot your peace lily and find its bunches. Bunches are the parts right above the roots that separate the stems. Then, you gently pull them apart like celery and voilà! Multiple peace lilies! After that you just plant them as you normally would.
To Summarize
There, now you know all about how to care for this beautiful and elegant flower! All the peace lily needs is light, water, good soil and nutrients, and, best of all, your care and attention. Have fun admiring you and your peace lily’s hard work!
HOME > Tier2 > Caring For Peace Lilies (This page)